Basic roast chicken recipe
Basic Roast Chicken
This article was published by: Matthew
Share this content!
⚠ Note: for metric to imperial (or vice-versa) conversion please refer to our article on Cooking Measurements 101.
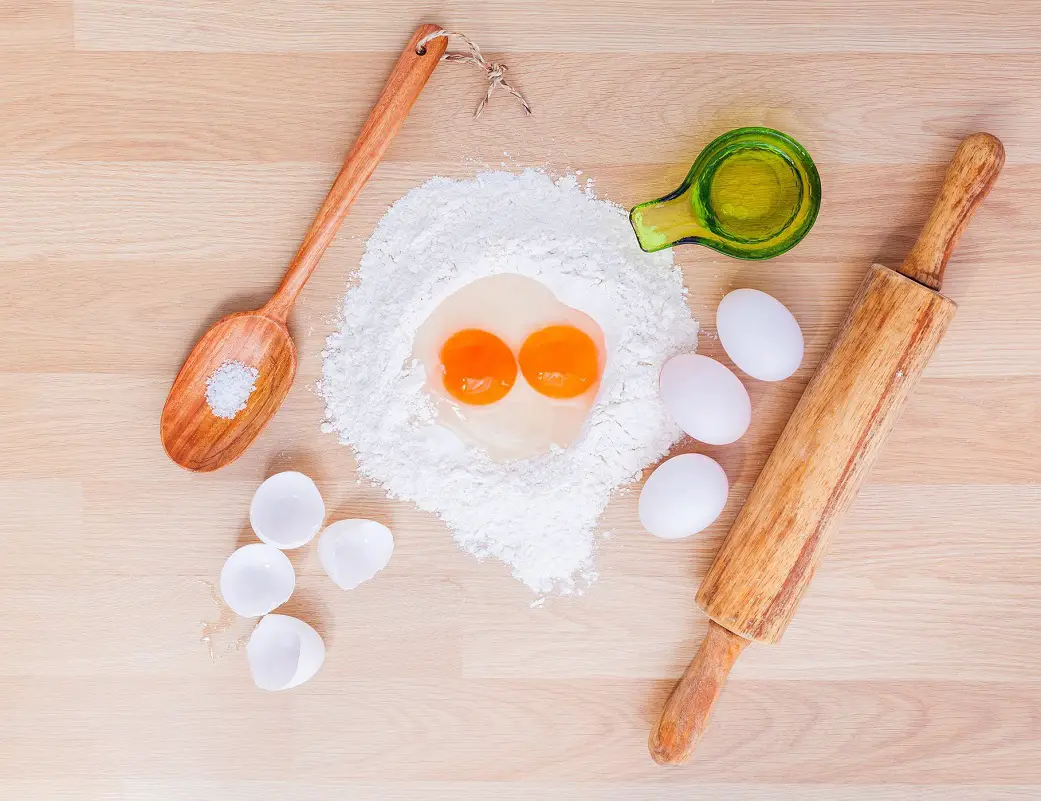
♼ Featured image may be generic and may not represent the (final) appearance of this recipe. Recipe origin is unknown, we claim no copyrights for this recipe.
About this recipe
In this blog post I will guide you thru the steps and ingredients needed to craft this recipe. Grab your favorite apron and let's start.This basic roast chicken recipe is a foolproof way to achieve tender and juicy meat with a crispy golden skin. With just a few simple ingredients and minimal preparation, you can enjoy a delicious homemade roast chicken that is perfect for any occasion. The recipe provides step-by-step instructions on how to season and roast the chicken to perfection, ensuring a flavorful and succulent result every time. Whether you are a beginner or a seasoned cook, this recipe is a must-try for anyone looking for a classic and satisfying meal.
Keywords: roast chicken, recipe, tender, juicy, crispy.
Basic roast chicken recipe details
Yeah, you can buy ’em at the grocery store already cooked, but why not do it yourself? You get lots more meat and have better control of the salt. Plus it makes the kitchen smell great! It really isn’t hard at all, and prep time gets shorter the more you practice!
Ready in: 2 hours 25 mins
Ingredients
Serves: 4- 1 roasting chicken (5 – 7 1/2 pounds)
- 2 teaspoons kosher salt, divided
- 2 teaspoons poultry seasoning, divided
- 2 teaspoons rubbed sage, divided
- 1 Tablespoon dried rosemary, divided
- 1/2 medium yellow onion, 3/4″ chopped
- 2 teaspoons oil (any kinda) or shortening or softened butter
- 2 teaspoons butter
- 1 teaspoon paprika
Preparation method
Prep: 15 mins | Cook: 2 hours | Extra time: 10 mins, resting1. Set your oven rack to the center position and preheat the oven to 325°. To facilitate easier cleanup line a 9″x13″x2″ with aluminum foil. If you do not have a roasting rack (or if you just don’t want to wash it later!), make 3 short “bars” of aluminum foil and place them in the roasting pan (see picture). Note: If your chicken came equipped with one of them pop-up temperature things, leave it plugged into the chicken, but ignore it. They are notoriously inaccurate, but if you remove it, you’ll leave a gaping hole from which lots of the yummy inner juices will spill out.
2. Remove all the “extras” that might have been stuffed into the cavity of your chicken. You can save the neck to go into the stock pot with the carcass of the chicken after you’ve finished with it. Rinse your chicken and pat it dry with paper towels.
3. Sprinkle half each of the salt, poultry seasoning, sage and rosemary into the inner cavity.
4. Stuff the chopped onion into the cavity.
5. At the top of the cavity opening, lift the skin on each side of the breast and stick your finger in there to loosen the skin over the breast meat. Slide 1 teaspoon of the butter under the skin of each breast.
6. Rub the oil (or shortening or butter) over the outside of the chicken. Sprinkle the remaining half of the salt, poultry seasoning, sage and rosemary somewhat evenly over the outside of the chicken. Sprinkle the paprika, which is more for added color than taste, on the high spots of the chicken.
7. Bend the ends of the wings behind the chicken’s back. It’s kinda like trying to scratch your own shoulder blade, so it does take just a little force to get them there!
8. Tie the ends of the legs together to help hold the cavity closed. This also helps keep them from overcooking.
9. Place the chicken in your prepared roasting pan, breast side up. Slide that puppy into the oven and bake her for, oh, 1 1/2 to 2 1/2 hours, depending on the weight. Check the internal temperature at the thickest part of the thigh with an instant-read thermometer. You want the temperature to be between 165-170°, and any juices where the thigh meets the body should run clear, not pink or red.
10. Remove the chicken from the oven and wrap it loosely with aluminum foil. Let it rest (like you would a good steak!) for 10-15 minutes before carving.
Share this content!


As seen in:
 The recipe has been tried out and should turn out to be tasty (with respect to one's subjective taste). In case you get poor results kindly re-check the instructions and repeat the process. If you find an error or have a complaint, do not hesitate to leave a comment or contact us via contact form.
 Reference: Basic roast chicken recipe
Recipe type: xarchivex
Find more recipes on thesmartcookiecook.com or see our latest posts.
Visited 35 times, 1 visit(s) today