Meat floss buns
Recipe for meat floss buns
This article was published by: Matthew
Share this content!
⚠ Note: for metric to imperial (or vice-versa) conversion please refer to our article on Cooking Measurements 101.
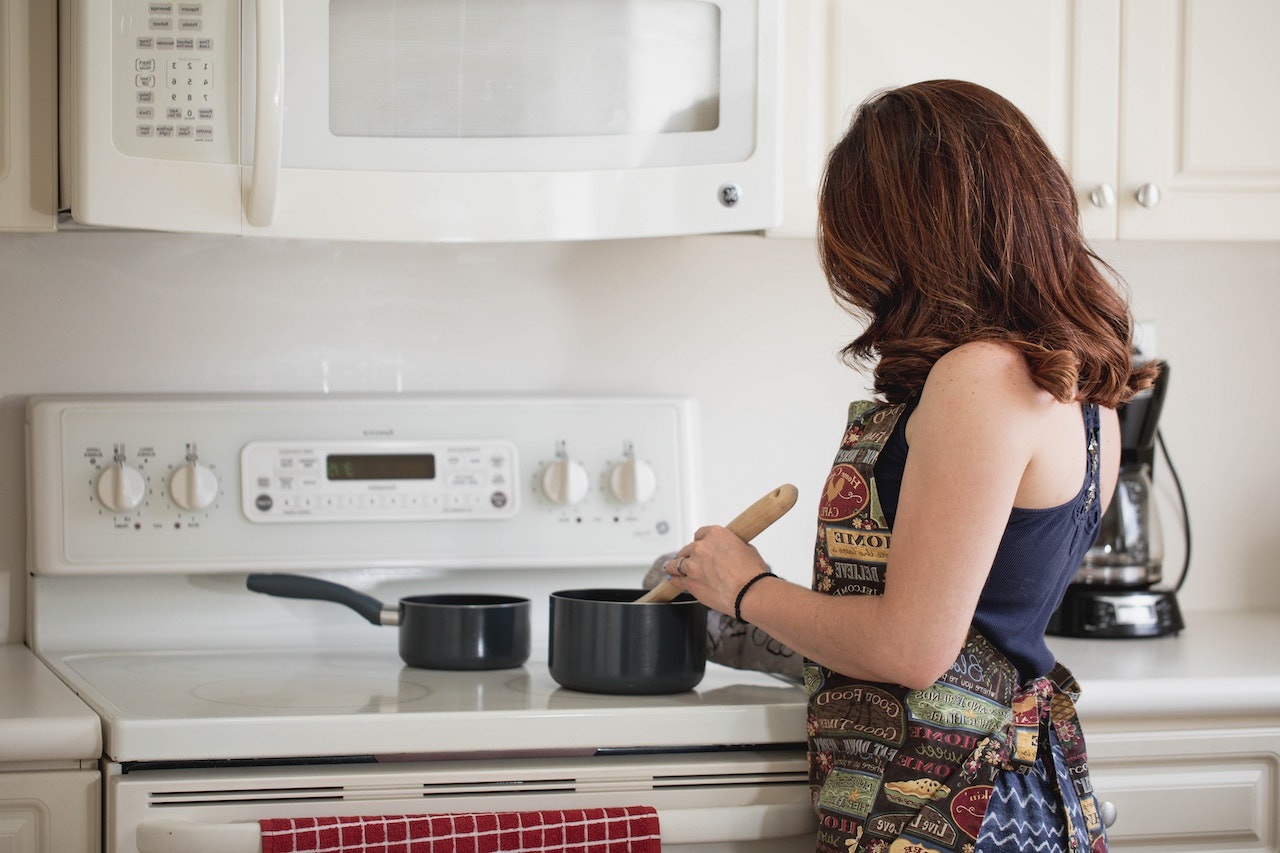
♼ Featured image may be generic and may not represent the (final) appearance of this recipe. Recipe origin is unknown, we claim no copyrights for this recipe.
About this recipe
In this blog post I will guide you thru the steps and ingredients needed to craft this recipe. Grab your favorite apron and let's start.Meat floss buns are a delicious and savory treat that combines fluffy bread rolls with a generous filling of flavorful meat floss. These buns are popular in many Asian cuisines, including Chinese and Taiwanese. The soft and pillowy texture of the buns perfectly complements the slightly sweet and salty taste of the meat floss, creating a delightful combination of flavors. Whether enjoyed as a snack or part of a meal, meat floss buns are sure to satisfy any craving for a tasty and comforting treat.
Keywords: Meat floss, Buns, Asian cuisine, Fluffy bread rolls, Savory
Meat floss buns details
INGREDIENTS:Makes 10
210g high protein/ bread flour
90g all purpose flour
7g instant dry yeast
90g water
5g bread improver
6g milk powder
3g salt
60g castor sugar
1 small egg
40g butter
40g whipping cream
Meat floss, pork or chicken
METHOD:
- Add all dry ingredients, except meat floss, in a mixing bowl. Mix with dough hook at slow speed for 1 minute.
- Add water , egg and whipping cream and continue to mix on slow speed for 1 minute.
- Continue to mix for 3 minutes on medium speed until a dough is form.
- Add butter gradually and mix for approx. 10 minutes on medium speed until gluten is fully developed, i.e. elastic, smooth, non-sticky and pull-away from sides of mixing bowl. Stretch a piece of dough for testing. This dough should form a thin membrane before it breaks.
- Prove dough in a greased stainless steel bowl for 1-1½ hours, covered with a damp cloth. Leave in a warm place until dough is double in size .
Punch the dough down to release gases produced in the proving process. Divide dough into 60g portions and round up. Rest for 5 minutes.
NOTES:
- In general for all breads making, the amount of liquid (eggs and water in this recipe) is variable. It depends on types of flour used, type of liquid used, temperature and humidity of atmosphere at the time of making the bread. Please adjust water content of this recipe accordingly.
- Use the “finger-tip” test to check if the dough has fully risen. Press dough with your finger tip. If the impression stays, it is ready to go on to shaping. If the impression springs back, continue proving.
- Time suggested for proving/rising is approximate only. Please adjust time depending on weather.
- Do not over-prove your dough as this will result in beer-taste and crumbly bread.
- For shaping, do not stretch dough into shape or length that you require as this will pop the air bubbles built up during the proving. You may also break the gluten by stretching the dough. Just work gently after the 5-minute rest.
- Buns prepared using straight dough method do not stay soft for more than 2 days. Do consume buns within this period.
Share this content!
Related posts:


As seen in:
 The recipe has been tried out and should turn out to be tasty (with respect to one's subjective taste). In case you get poor results kindly re-check the instructions and repeat the process. If you find an error or have a complaint, do not hesitate to leave a comment or contact us via contact form.
 Reference: Meat floss buns
Recipe type: xarchivex
Find more recipes on thesmartcookiecook.com or see our latest posts.
Visited 52 times, 2 visit(s) today